![](https://rebeccajacoby.com/wp-content/uploads/2021/12/01-Geology-Arch-A.jpeg)
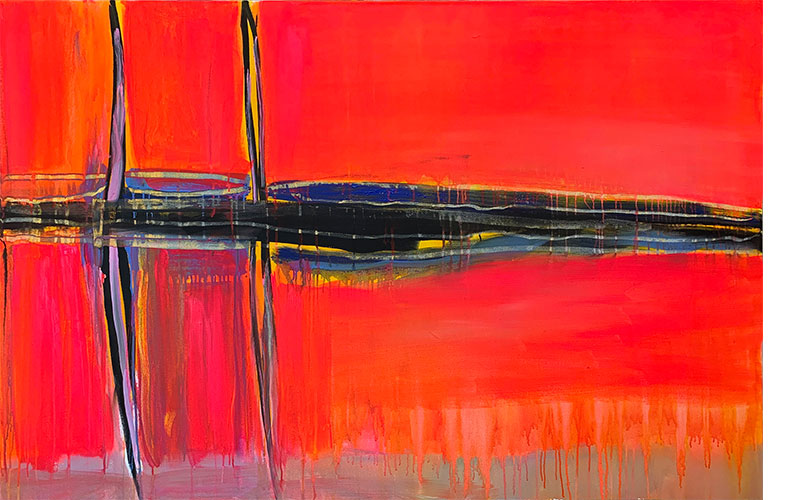
Geology Arch A | 72 x 48 inches | acrylic on canvas |
![](https://rebeccajacoby.com/wp-content/uploads/2021/12/02-Geology-Arch-B.jpeg)
Geology Arch B | 72 x 48 inches | acrylic on canvas |
![](https://rebeccajacoby.com/wp-content/uploads/2021/12/03-Geology-Arches-Diptych-AB.jpeg)
Geology Arch Diptych A&B | 72 x 96 inches | acrylic on canvas |
![](https://rebeccajacoby.com/wp-content/uploads/2021/12/04-Mother-Lode-A.jpeg)
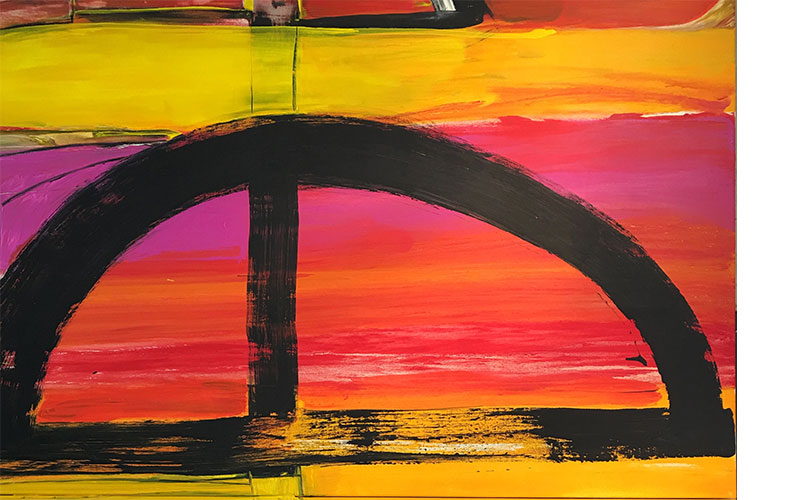
Mother Lode A | 72 x 48 inches | acrylic on canvas |
![](https://rebeccajacoby.com/wp-content/uploads/2021/12/05-Mother-Lode-B.jpeg)
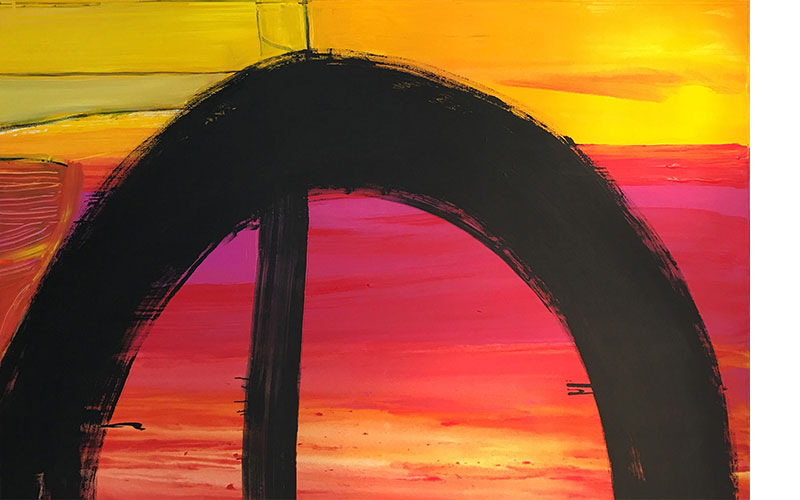
Mother Lode B | 72 x 48 inches | acrylic on canvas |
![](https://rebeccajacoby.com/wp-content/uploads/2021/12/06-Mother-Lode-Diptych-AB.jpeg)
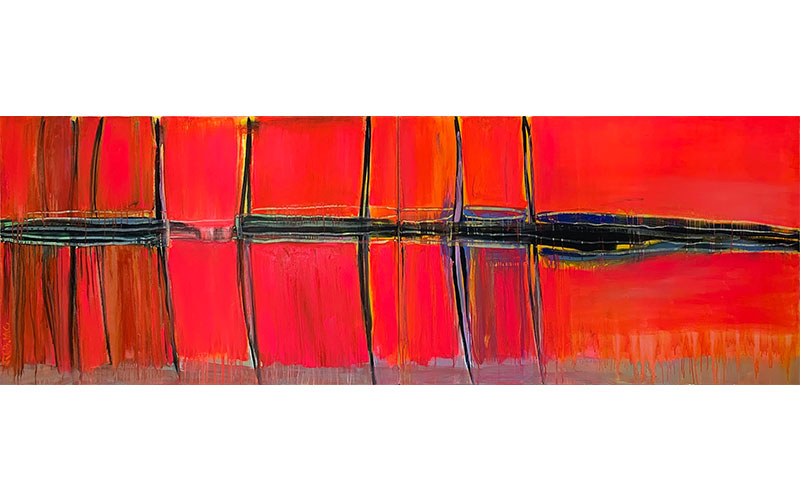
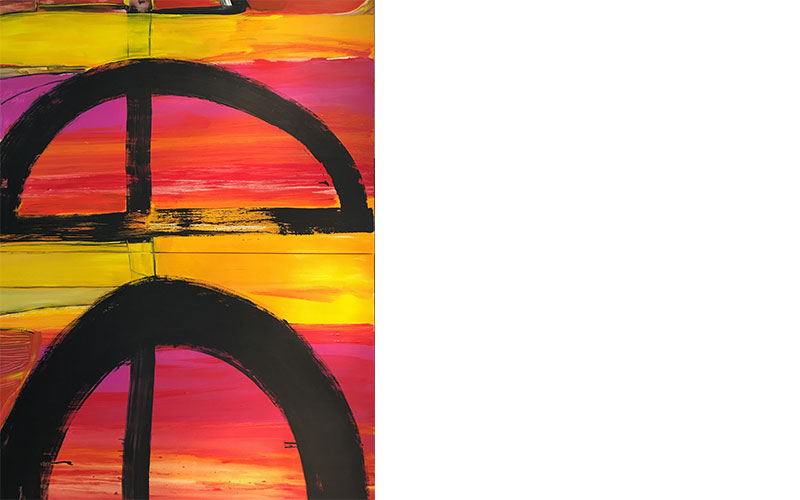
Mother Lode Diptych A&B | 144 x 48 inches | acrylic on canvas |
![](https://rebeccajacoby.com/wp-content/uploads/2021/12/07-Stripes-A.jpeg)
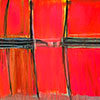
Stripes A | 48 x 72 inches | acrylic on canvas |
![](https://rebeccajacoby.com/wp-content/uploads/2021/12/08-Stripes-B.jpeg)
Stripes B | 48 x 72 inches | acrylic on canvas |
![](https://rebeccajacoby.com/wp-content/uploads/2021/12/09-Stripes-Diptych-AB.jpeg)
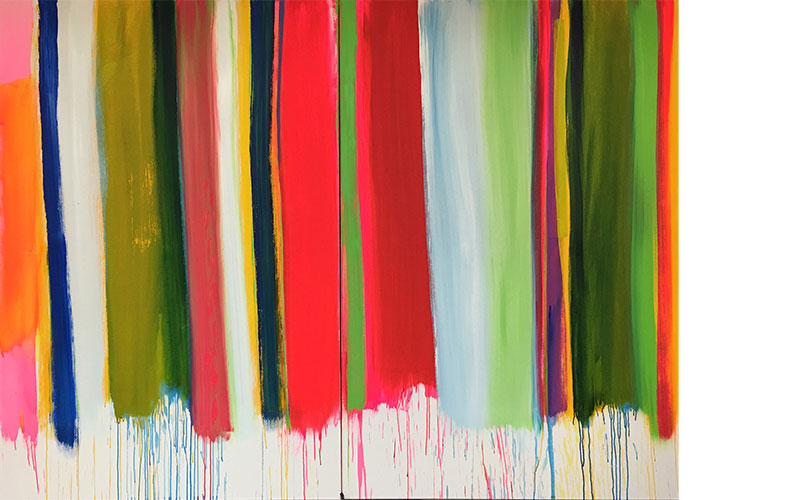
Stripes Diptych A&B | 96 x 72 inches | acrylic on canvas |
![](https://rebeccajacoby.com/wp-content/uploads/2021/12/10-Stripes-Cairns-A.jpeg)
Stripes Cairns A | 48 x 72 inches | acrylic on canvas |
![](https://rebeccajacoby.com/wp-content/uploads/2021/12/11-Stripes-Cairns-B.jpeg)
Stripes Cairns B | 48 x 72 inches | acrylic on canvas |
![](https://rebeccajacoby.com/wp-content/uploads/2021/12/12-Stripes-and-Cairns-Diptych-AB.jpeg)
Stripes Cairns Diptych A&B | 96 x 72 inches | acrylic on canvas |